In week 6, we are practicing using software Adobe Photoshop our mock up board portfolio project.
I begin with opening Photoshop

On the frontpage of the photoshop, I slide to top left menu, and click on File, then New. A new dialog box appear. On that box, on top menu, I click on Print and scroll for A3 format. After I clicked on it, I set the orientation to portrait for my graphic design poster with 300 dpi so it has a very sharp graphic. The background I keep it white then I clicked on Create. Now I have my white canvas on.

Onto the next step, on my blank canvas, I want to add a title. To do that, I slide to left menu where every Photoshop tool located, and click on Text Tool. Now, I click on my blank canvas and type my project title which is "Neon Cyberpunk". After that, I slide to top menu where I can change the font and size. I change to font to OCR A Extended with 60 size. After finish that, I click on move tool and rearrange my project title in top middle on slightly leave a margin on top so it will not have any printing problem. After finishing main title, I want to add a subtitle. I again slide to left menu tool and click on Text Tool then I click on my canvas. Now I type "Concept: Graphic Design Project" and move to top menu and change it to OCR A Extended size of 30. Then, I click on move tool to move under my main title.

Then, I want to make a logo for my mockup. For this, I open freelogodesign.org to make a logo design that related to my project. On the front page of the website, I type a name for my logo which is "Ken Graphic Design" and click started. Then, on the search bar I search for Graphic Design so it show logo that related to graphic design. Then, after scrolling, I found a good logo and I click to customize it. I change the colour to look more neon alike. Then I download it as PNG. Then, on Photoshop, I slide to top menu and click on File and click Open. Then, I locate the location of my logo and click open. Now I have my logo on photoshop but in a new canvas. To move to my main canvas, again I slide to top menu and click Select and Select All. Then, top menu again, go to Edit and Copy. Now, I have a copy of my logo. Next, under the top menu, I go to my main canvas, then click on Edit and click on Paste and my logo now is on my main canvas. Now I click on Move Tool on the left menu and rearrange my logo position. After that, to resize, on top menu, there is a options of Show Transform Controls which is untick. I click on it to tick it and now I can resize my logo to appropriate size.
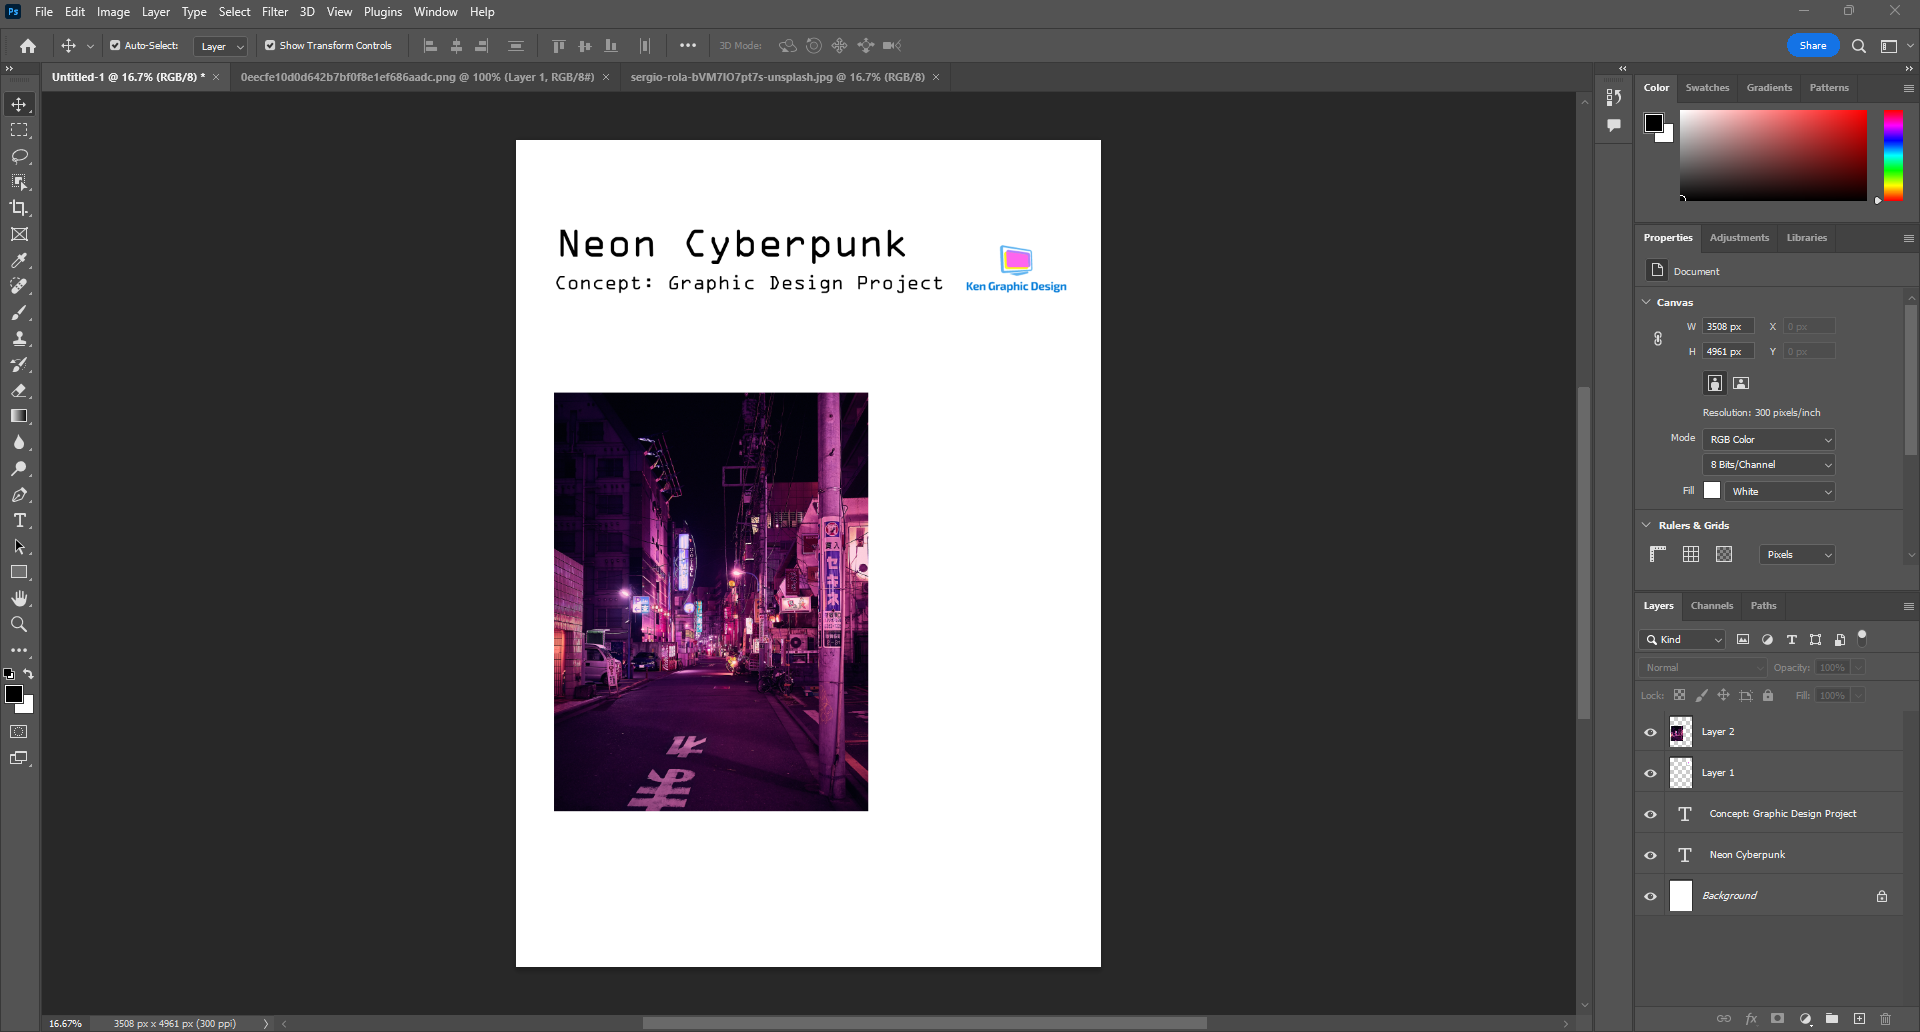
Now I want to add a concept image of my project. I go to Unsplash to get high quality free image to download. I search for neon tokyo and search for appropriate image. After I found a good image, I download it and save it as PNG. Now on Photoshop, I click on File and Open. Now a dialog box appear. I locate the image that I downloaded and open it. Now, the image is in new canvas. To move to my main canvas, I click on Select and Select All, then Edit and Copy. Then I move to my main canvas and click on Edit and Paste. Now the image is on my main canvas. I click on Move Tool to move it and resize it to appropriate position and size.

The crucial part is the storyboard of my project. To add those sentence. I click on Text Tool and click on my canvas. After done wrote the context, I try to change the position of my poster and text to make it look neat using Move Tool. The font that I use is Rockwell with the size of 22 for the first paragraph and Rockwell with the size of 36 for the second paragraph. Here is the result:
.png)
Good process however I still think there are issues with the concept - the fonts here also seem a little odd and you do need to be much clearer about your poster campaign -
ReplyDelete